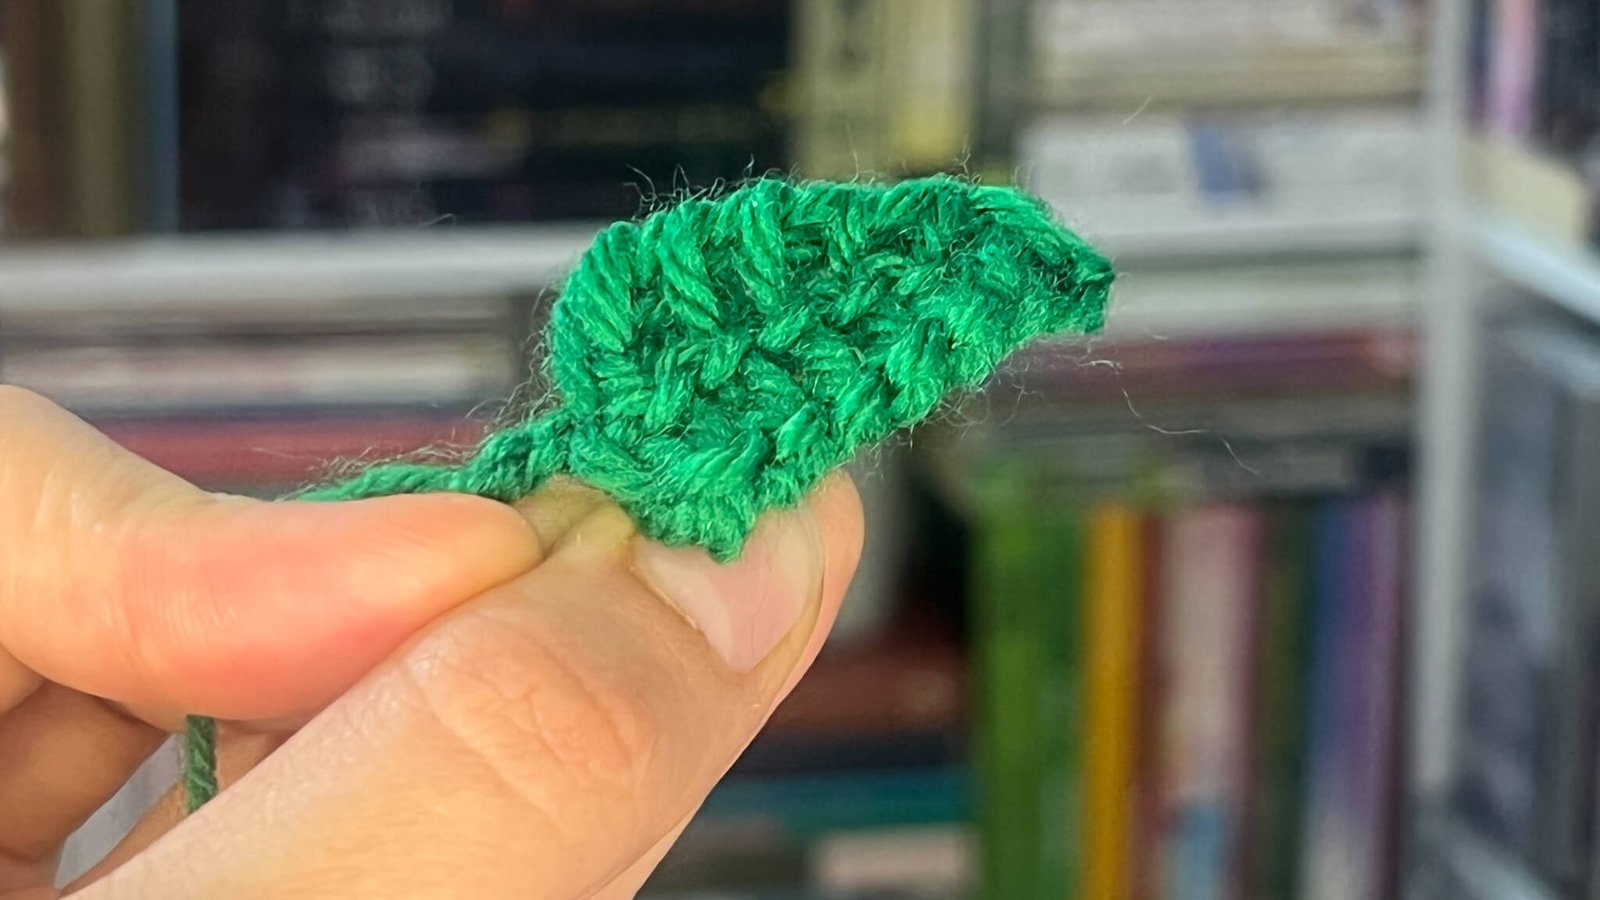
I think this simple leaf is probably the smallest crochet pattern that I’ve ever made, but it is super satisfying. It’s very quick to make, super easy, and just the right amount of time to use in almost any other crochet project that you make. Think garlands, chains, gift toppers, or bookmarks.
What You’ll Need
You can of course use any colour to crochet this leaf. For example, you can make it green for a classic leaf, or you can go for a more fall-y vibe and make it yellow, orange, or red. I used 4-ply cotton for mine, and I also tried 4-ply acrylic. Out of both, I would say the acrylic is the best one for this project.
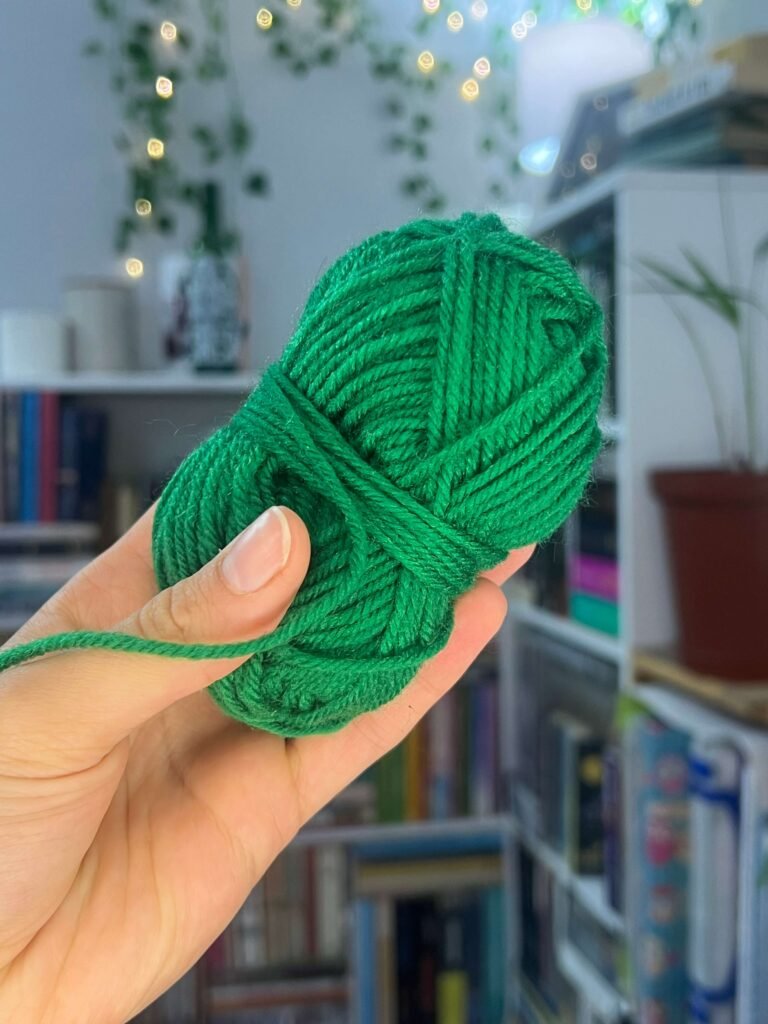
That being said, the cotton yarn works really good as well. To be honest, for this project, the yarn really isn’t that important.
The leaf just doesn’t look as full and the size is a bit different.
The one that I made with 4-ply acrylic is about 4 cm long, and the one made with cotton thread about 3 cm.
You should also remember to match the crochet hook that you’re using to the yarn. So I used a 2 millimeter hook for the cotton yarn and a 4 millimeter one for the acrylic.
I recommend that you use the size hook shown on the label of the yarn that you are using if you’re unsure which one to use.
How to Crochet the Leaf
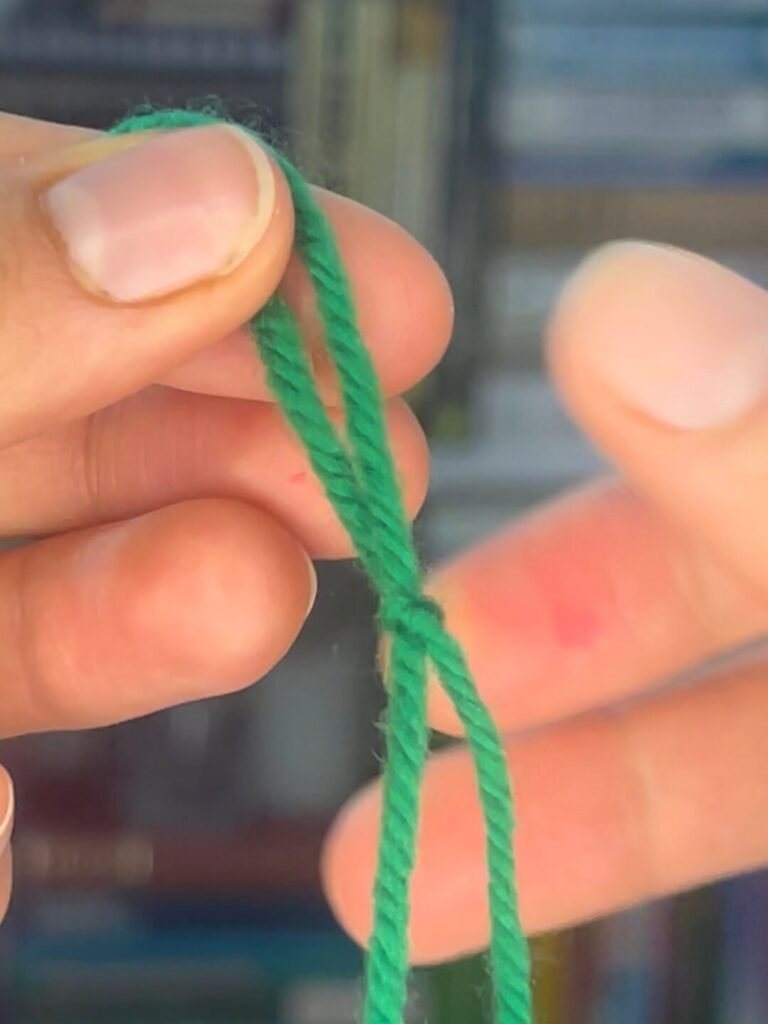
Start by making a slipknot and do not make the tail too short. Leave about 2 inches of thread because that tail end will end up being quite helpful when you want to attach your leaf to a different project later on.
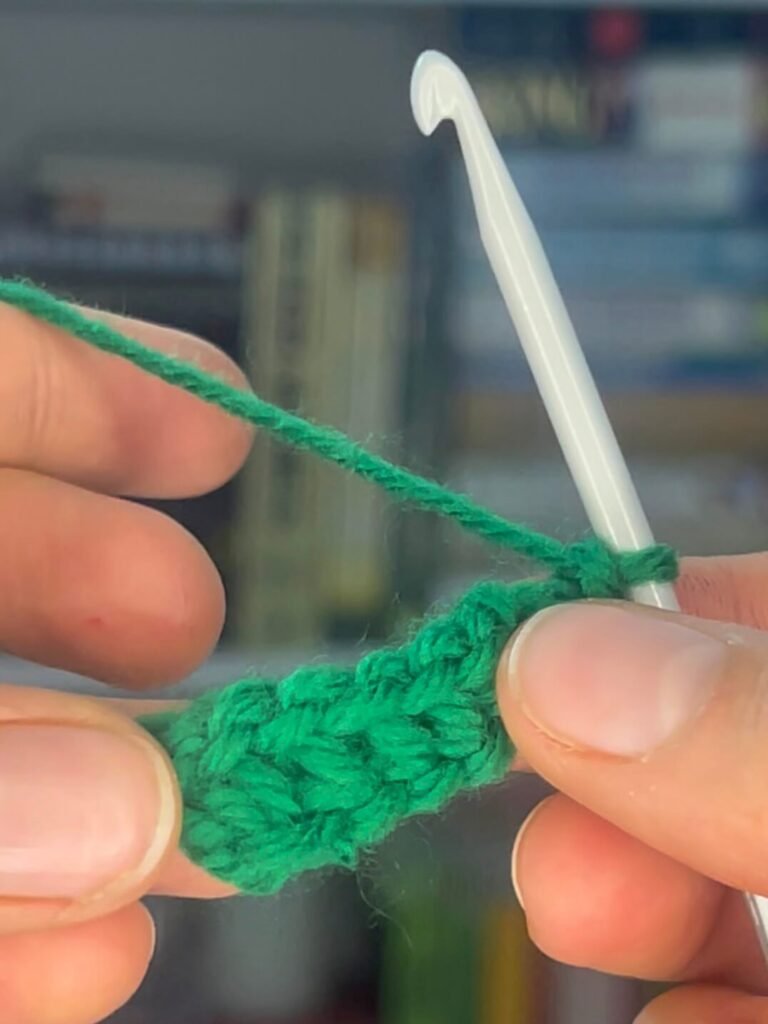
Then chain 8.
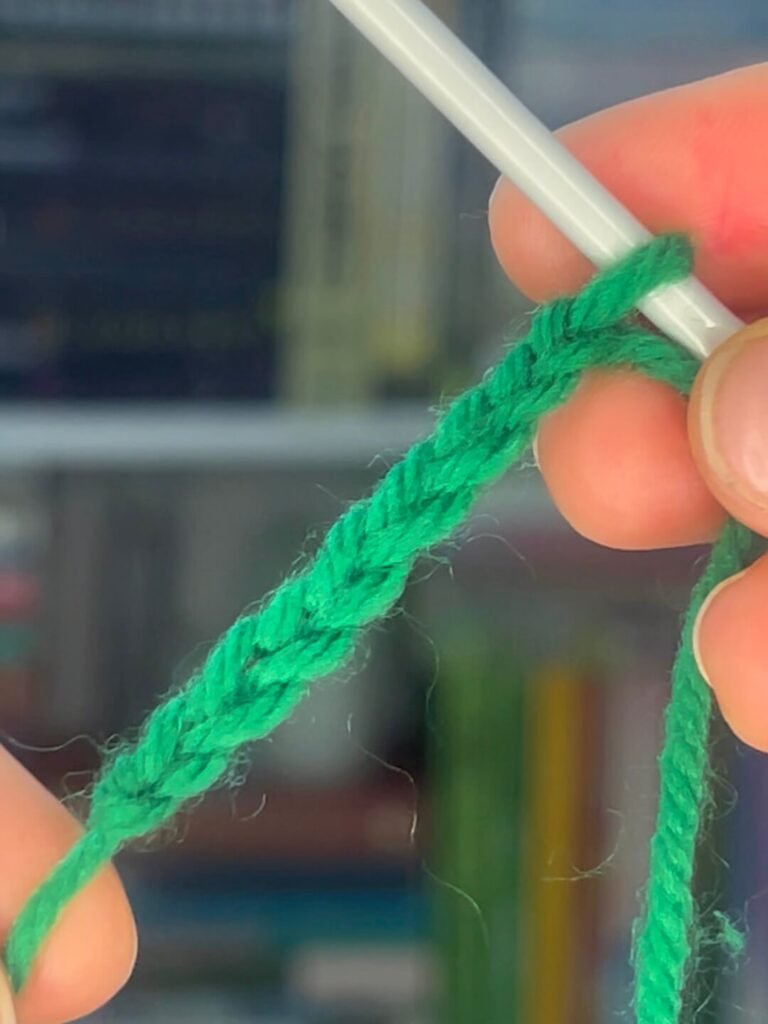
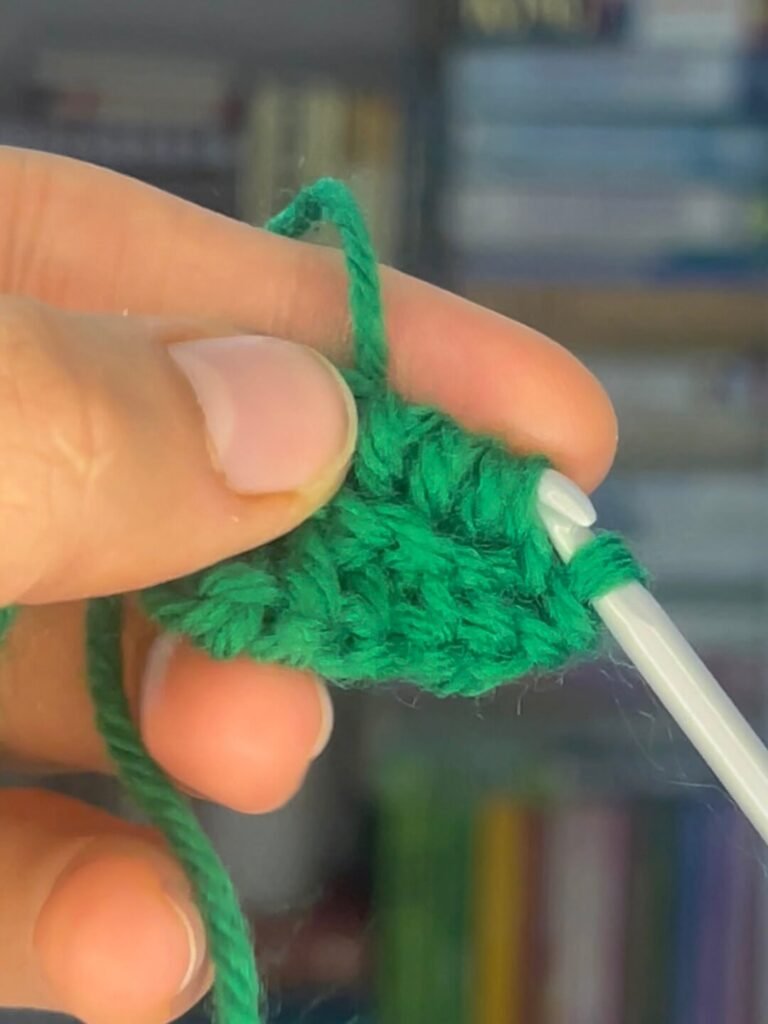
This is now the part where things get a little bit different. So instead of doing normal stitches like you usually would into the chains, we’re only going to make loops. So you push your hook through the second chain as if making a slip stitch, but don’t pull through. Keep that loop on your hook.
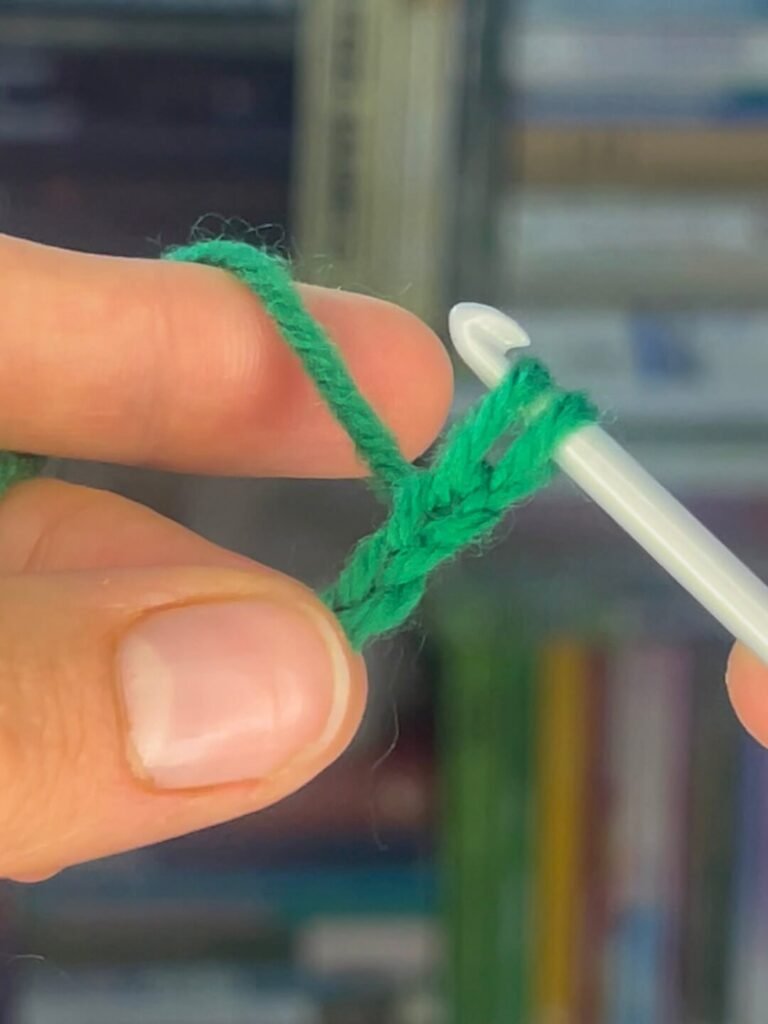
Now repeat that with your next chain until you have 7 loops on your hook. Don’t do anything with the final chain, that is like the little stem of your leaf.
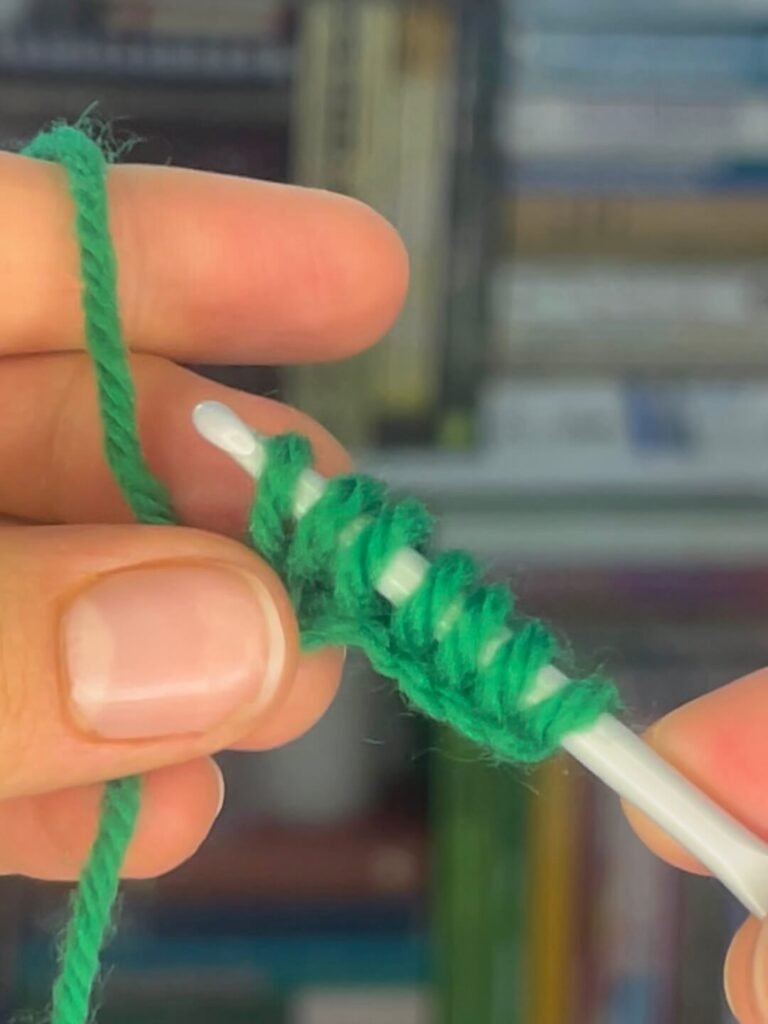
Now you should yarn over and pull through two loops at a time until you are back to just one loop on your hook and then chain one again.
Making the Other Side
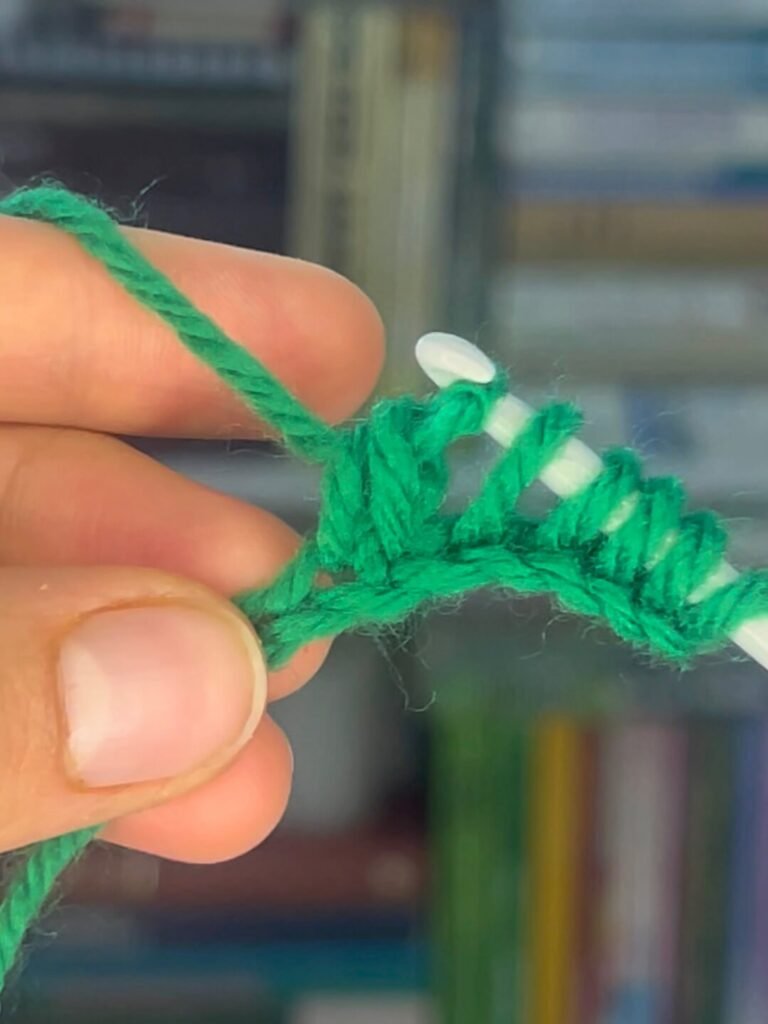
Now turn your work so that the rounded side is at the bottom. And you’ll see like a spine of the leaf starting to form at what will be now the top.
Next, slip stitch into the second stitch from the hook, and repeat the same process that we did earlier, going through each stitch, leaving the hooks on the hook, until you have seven again, then pull through two each time, until you have one left on your hook.
Chain one, now flip your work around again, and slip stitch into the first stitch of the leaf to join the two sides together.
To finish off the leaf, just use a needle to work in the final tail end at the top of your leaf, leave the one at the bottom to be able to attach it to projects later.