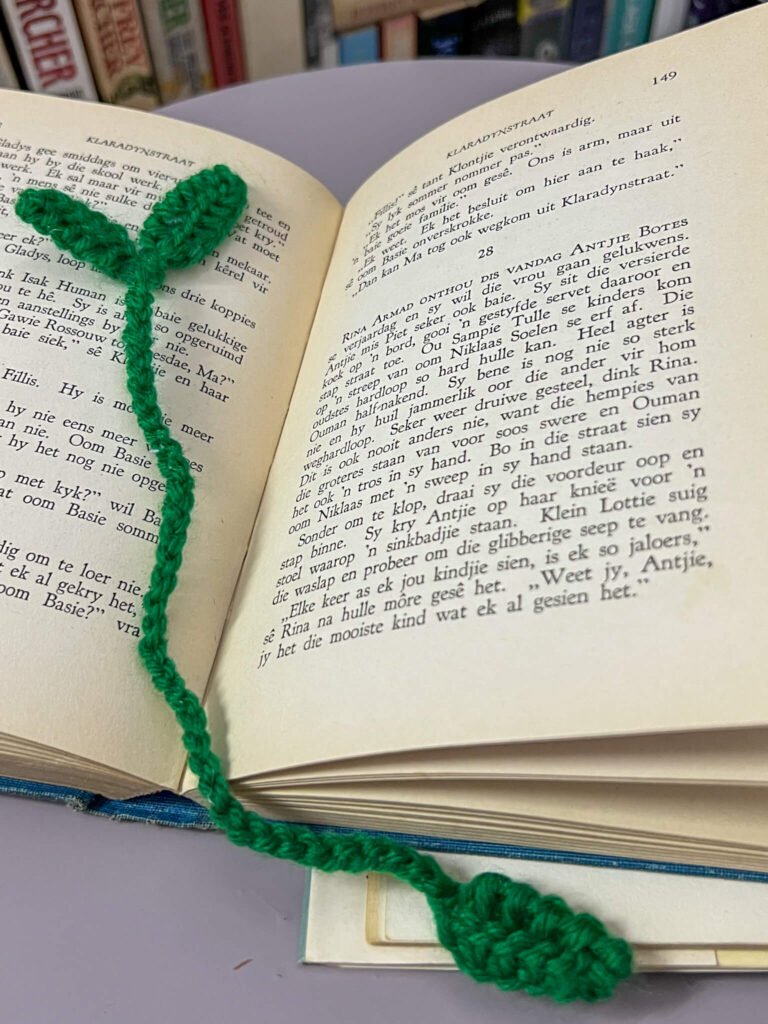
I absolutely love this crochet bookmark. It’s simple, doesn’t take much yarn, and adds just the right touch of charm to a book.
What You Need
I used 4 ply acrylic yarn and a 4mm crochet hook (that’s a US size G-6 hook), but you can absolutely use whatever yarn you have. The size and softness will just be different, but the idea stays the same.
Steps
Starting the Leaf
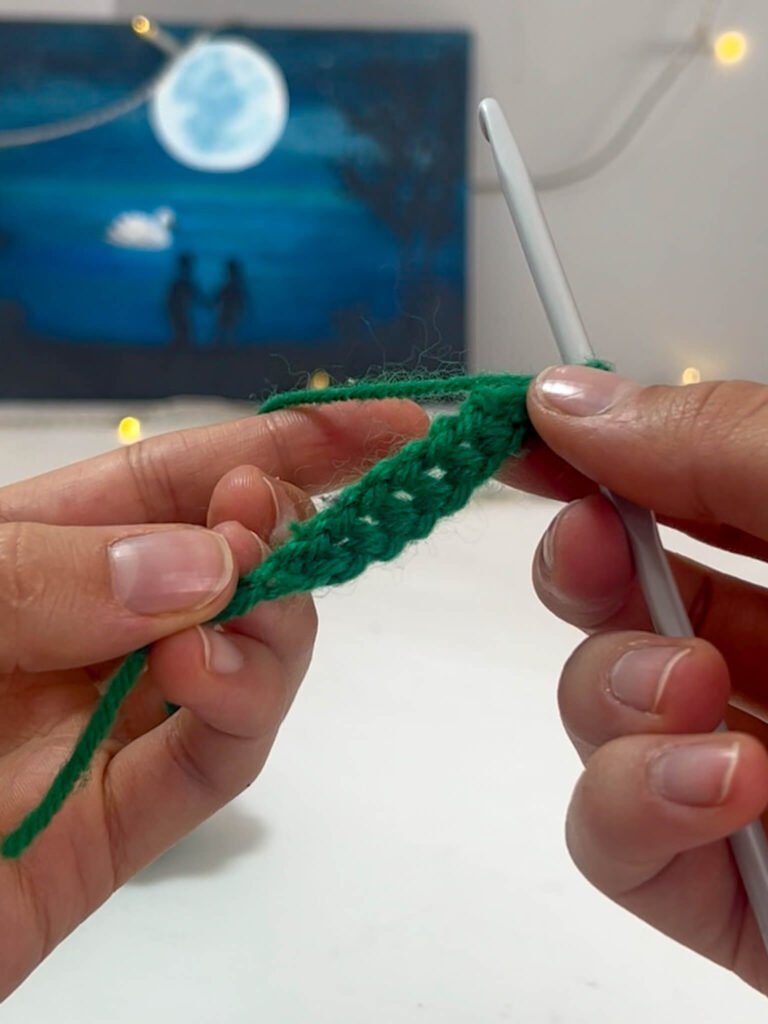
To begin, chain 9.
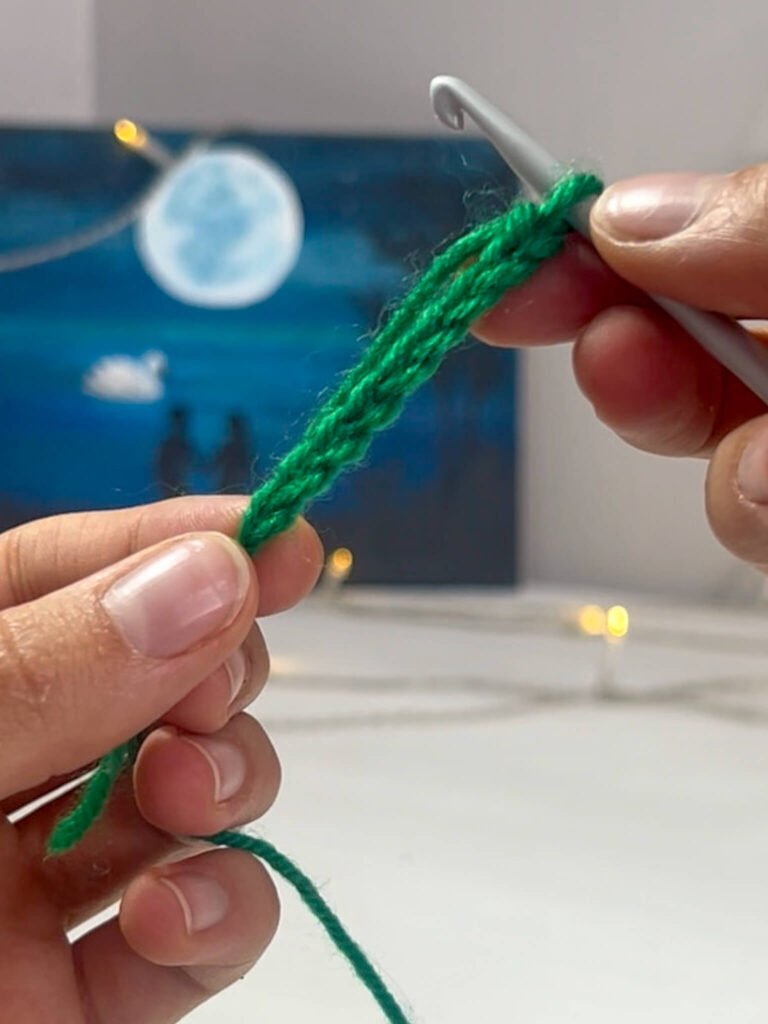
Push your hook through the second chain from the hook (just a quick reminder: the loop on your hook doesn’t count as a chain), yarn over, and pull back through, but don’t complete the stitch. Leave that loop sitting right there on your hook.
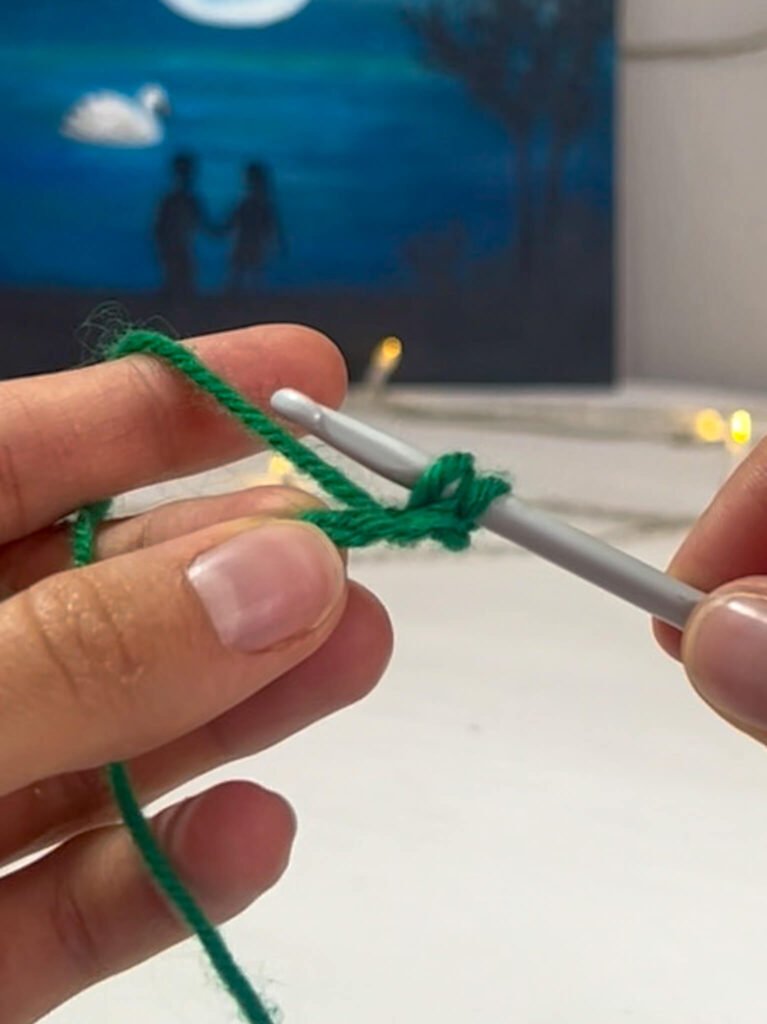
Now repeat this step in each chain along the row until you have 8 loops on your hook.
Then yarn over and pull through two loops at a time until there’s only one left.
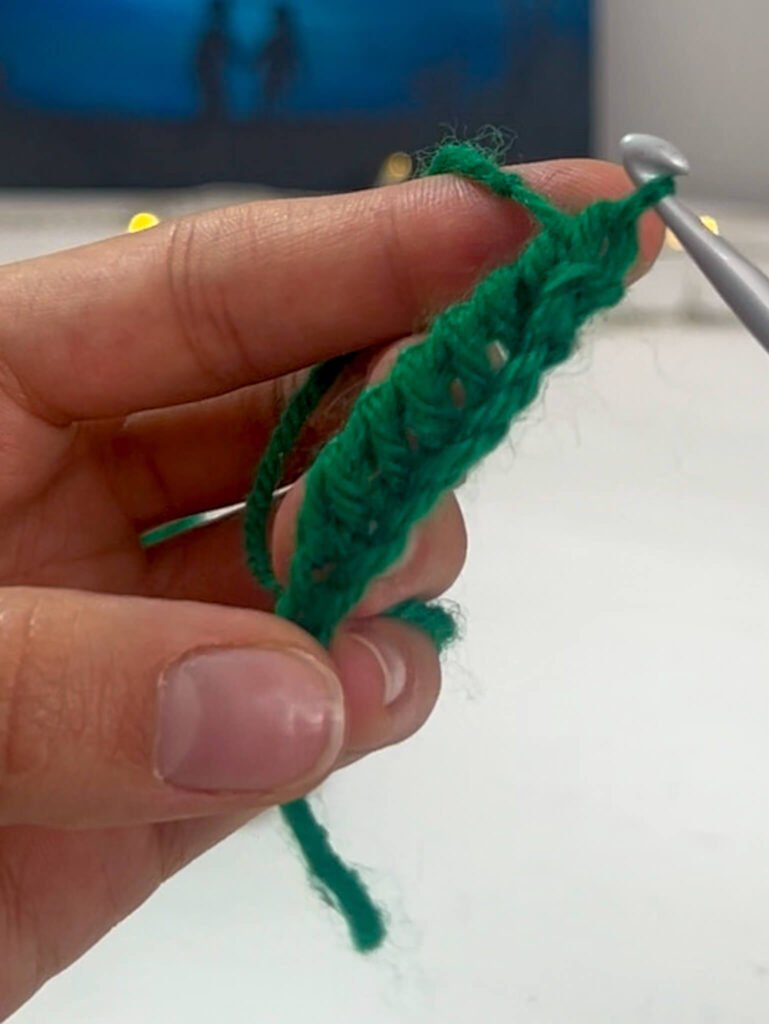
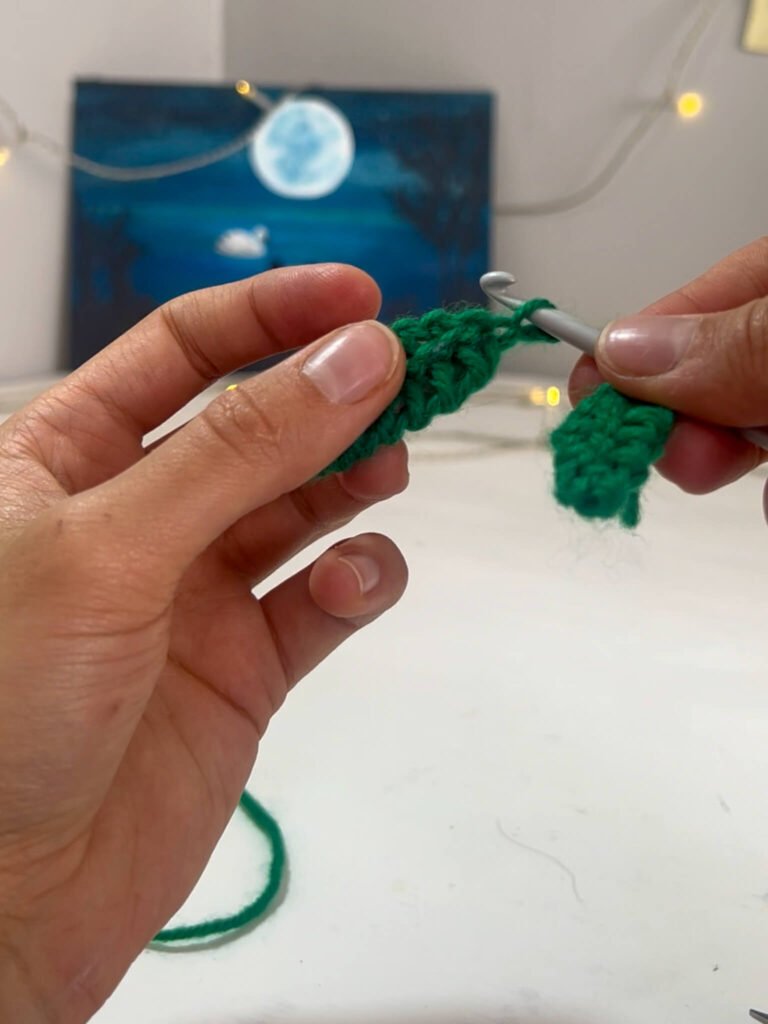
Chain 1 and flip your work so that the rounded part is now at the bottom.
Now, repeat the exact same process on the other side of the leaf. But don’t chain 1, just end off your work once you have only one stitch left on your hook.
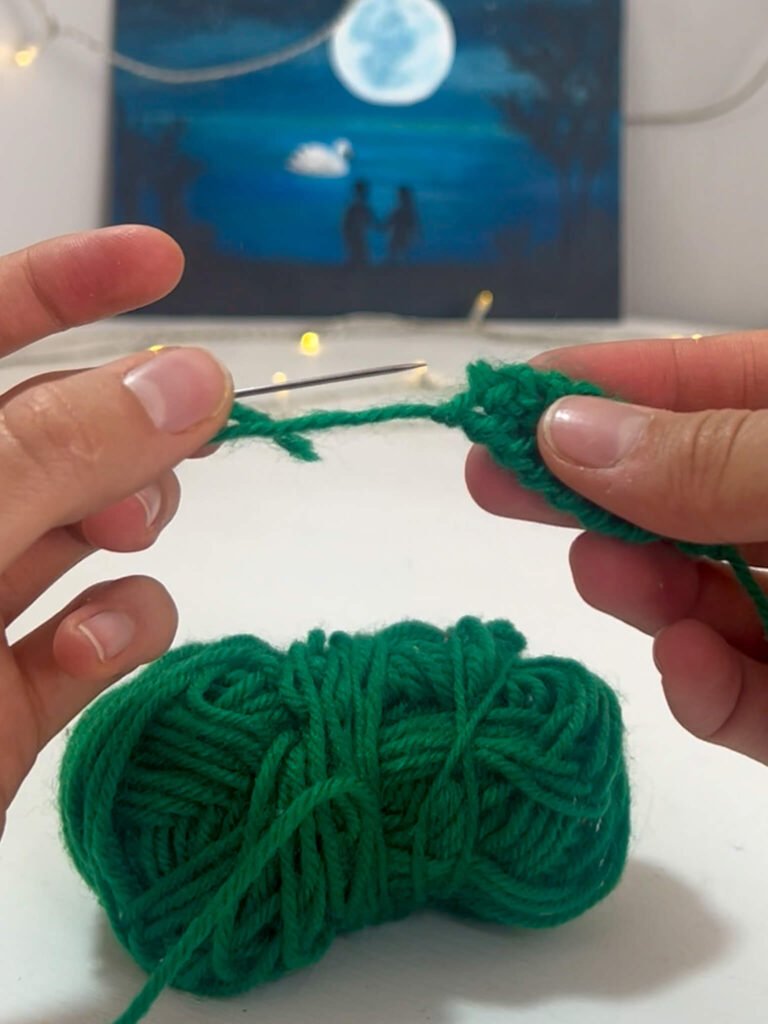
When you work back that final piece of yarn, you’ll see that the end is a bit uneven. To counter that, just work the yarn back into the first side of the leaf that you made. Don’t work the initial tail-end back in, we’ll do that later.
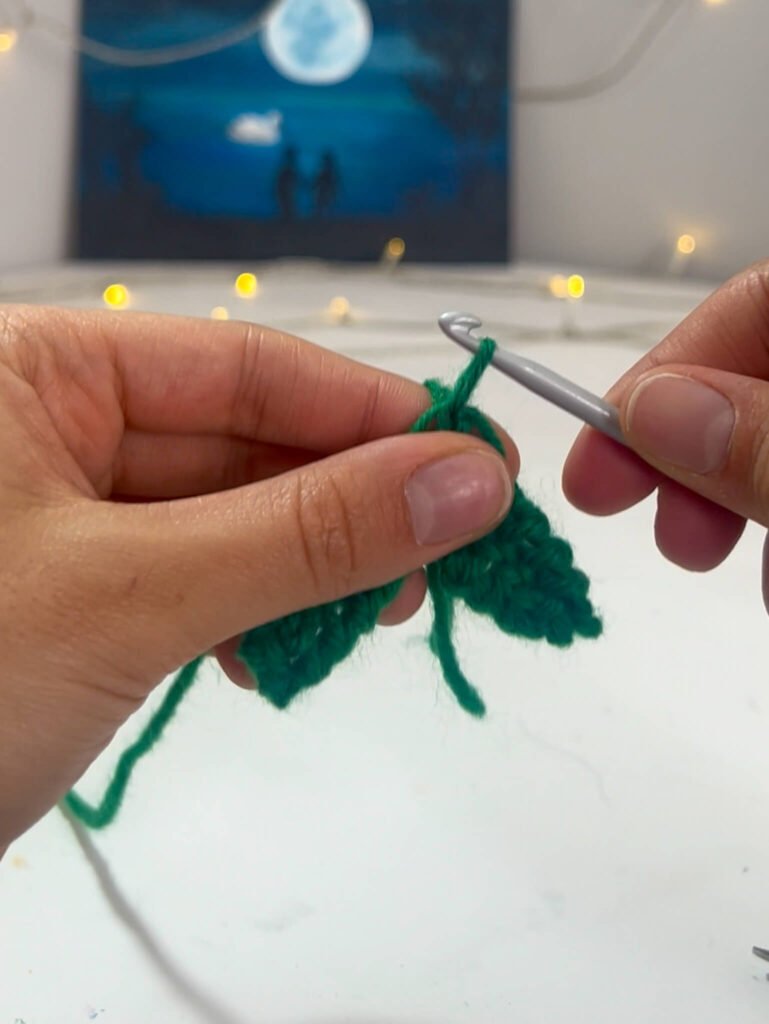
Make a Second Leaf
You’ll need two leaves for this project. So go ahead and make another one using the same steps.
I made my second leaf using only 7 stitches, so the two aren’t the same, but that’s totally up to you.
Joining and Creating the Chain
Now, insert your hook through the bottom chain of each leaf so both leaves are on your hook.
Next, yarn over, and pull through both at the same time. This will neatly join them.
Then chain as many stitches as you’d like to make sure it fits comfortably inside your book. After your main chain, add 9 more chains so we can add a second leaf at the end.
I chained 45 in total, but this is really up to you.
Finishing with Another Leaf
At the end of the chain, you’ll make one more leaf just like the others.
Push your hook through the second chain, yarn over and pull through (but don’t complete the stitch), until you have 8 loops on your hook again. Then yarn over and pull through two at a time until you’ve only got one left. Chain 1, flip it around, and repeat the same steps on the other side of this leaf.
The Final Touch
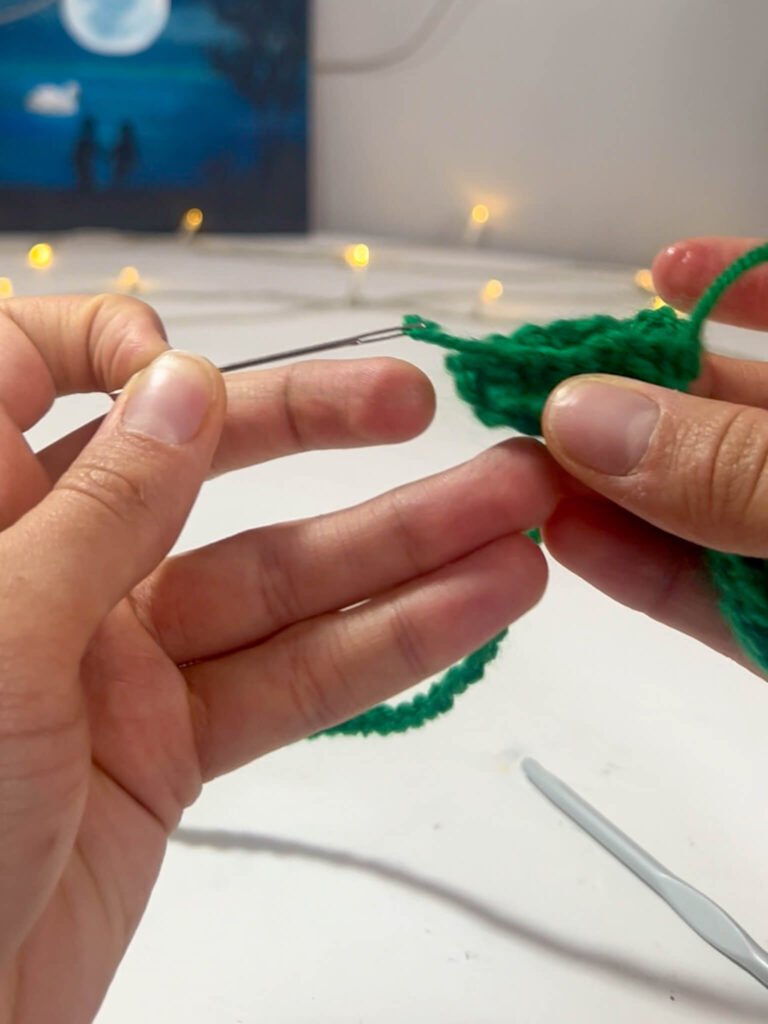
Once your third leaf is done, our last step will be to finish off everything. Remember I said to leave the initial tail-ends of each leaf as is and that we’ll work it back later? Well we’re going to work it back now.
The reason that I only do it now is that you can now use them to strengthen all the connections. I don’t work the tail-end of leaf one back into itself, I work it into the other leaf. And the tail-end of leaf two goes back into leaf one. The last remaining tread, you can just work in where you please.
How it Looks in the End